In this case, your custom domain will look like
https://ci.yourbusiness.comLog in to your Network Solutions dashboard
Click on your Profile icon and click on the Home option
On the homepage, select Domains on the left sidebar of the page
If you have more than one domain, then select your preferred domain
Scroll down and click on Advanced Tools
Click on the Manage button next to the Advanced DNS Records.
-
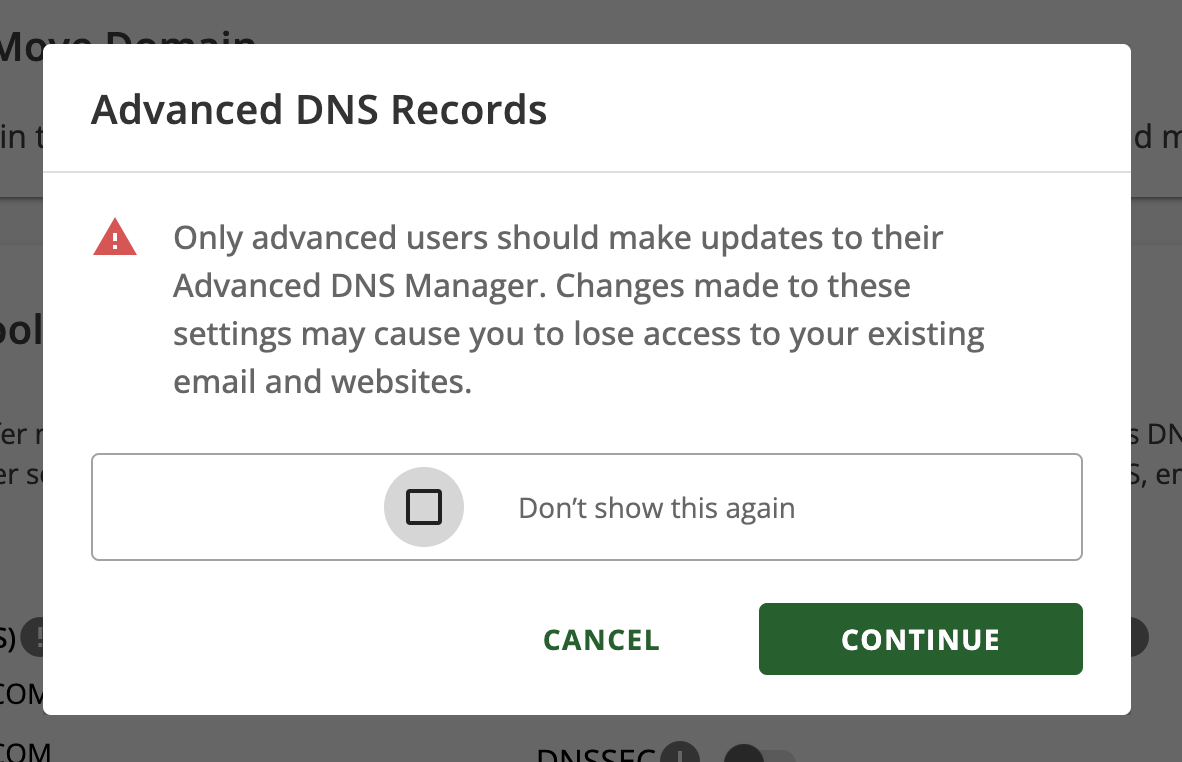
If you get a warning message, as seen below, click on the Continue button
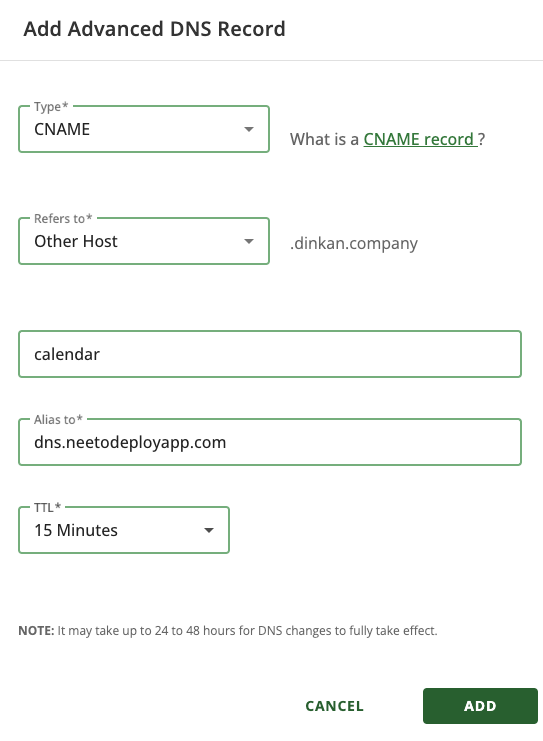
Click on + ADD RECORD
Select CNAME as the
Typeand Other Host forRefers toFill the Hostname, Alias To and TTL fields as seen on the custom domain setting page on NeetoCI.
Click on the ADD button
For more information refer to the official documentation.


